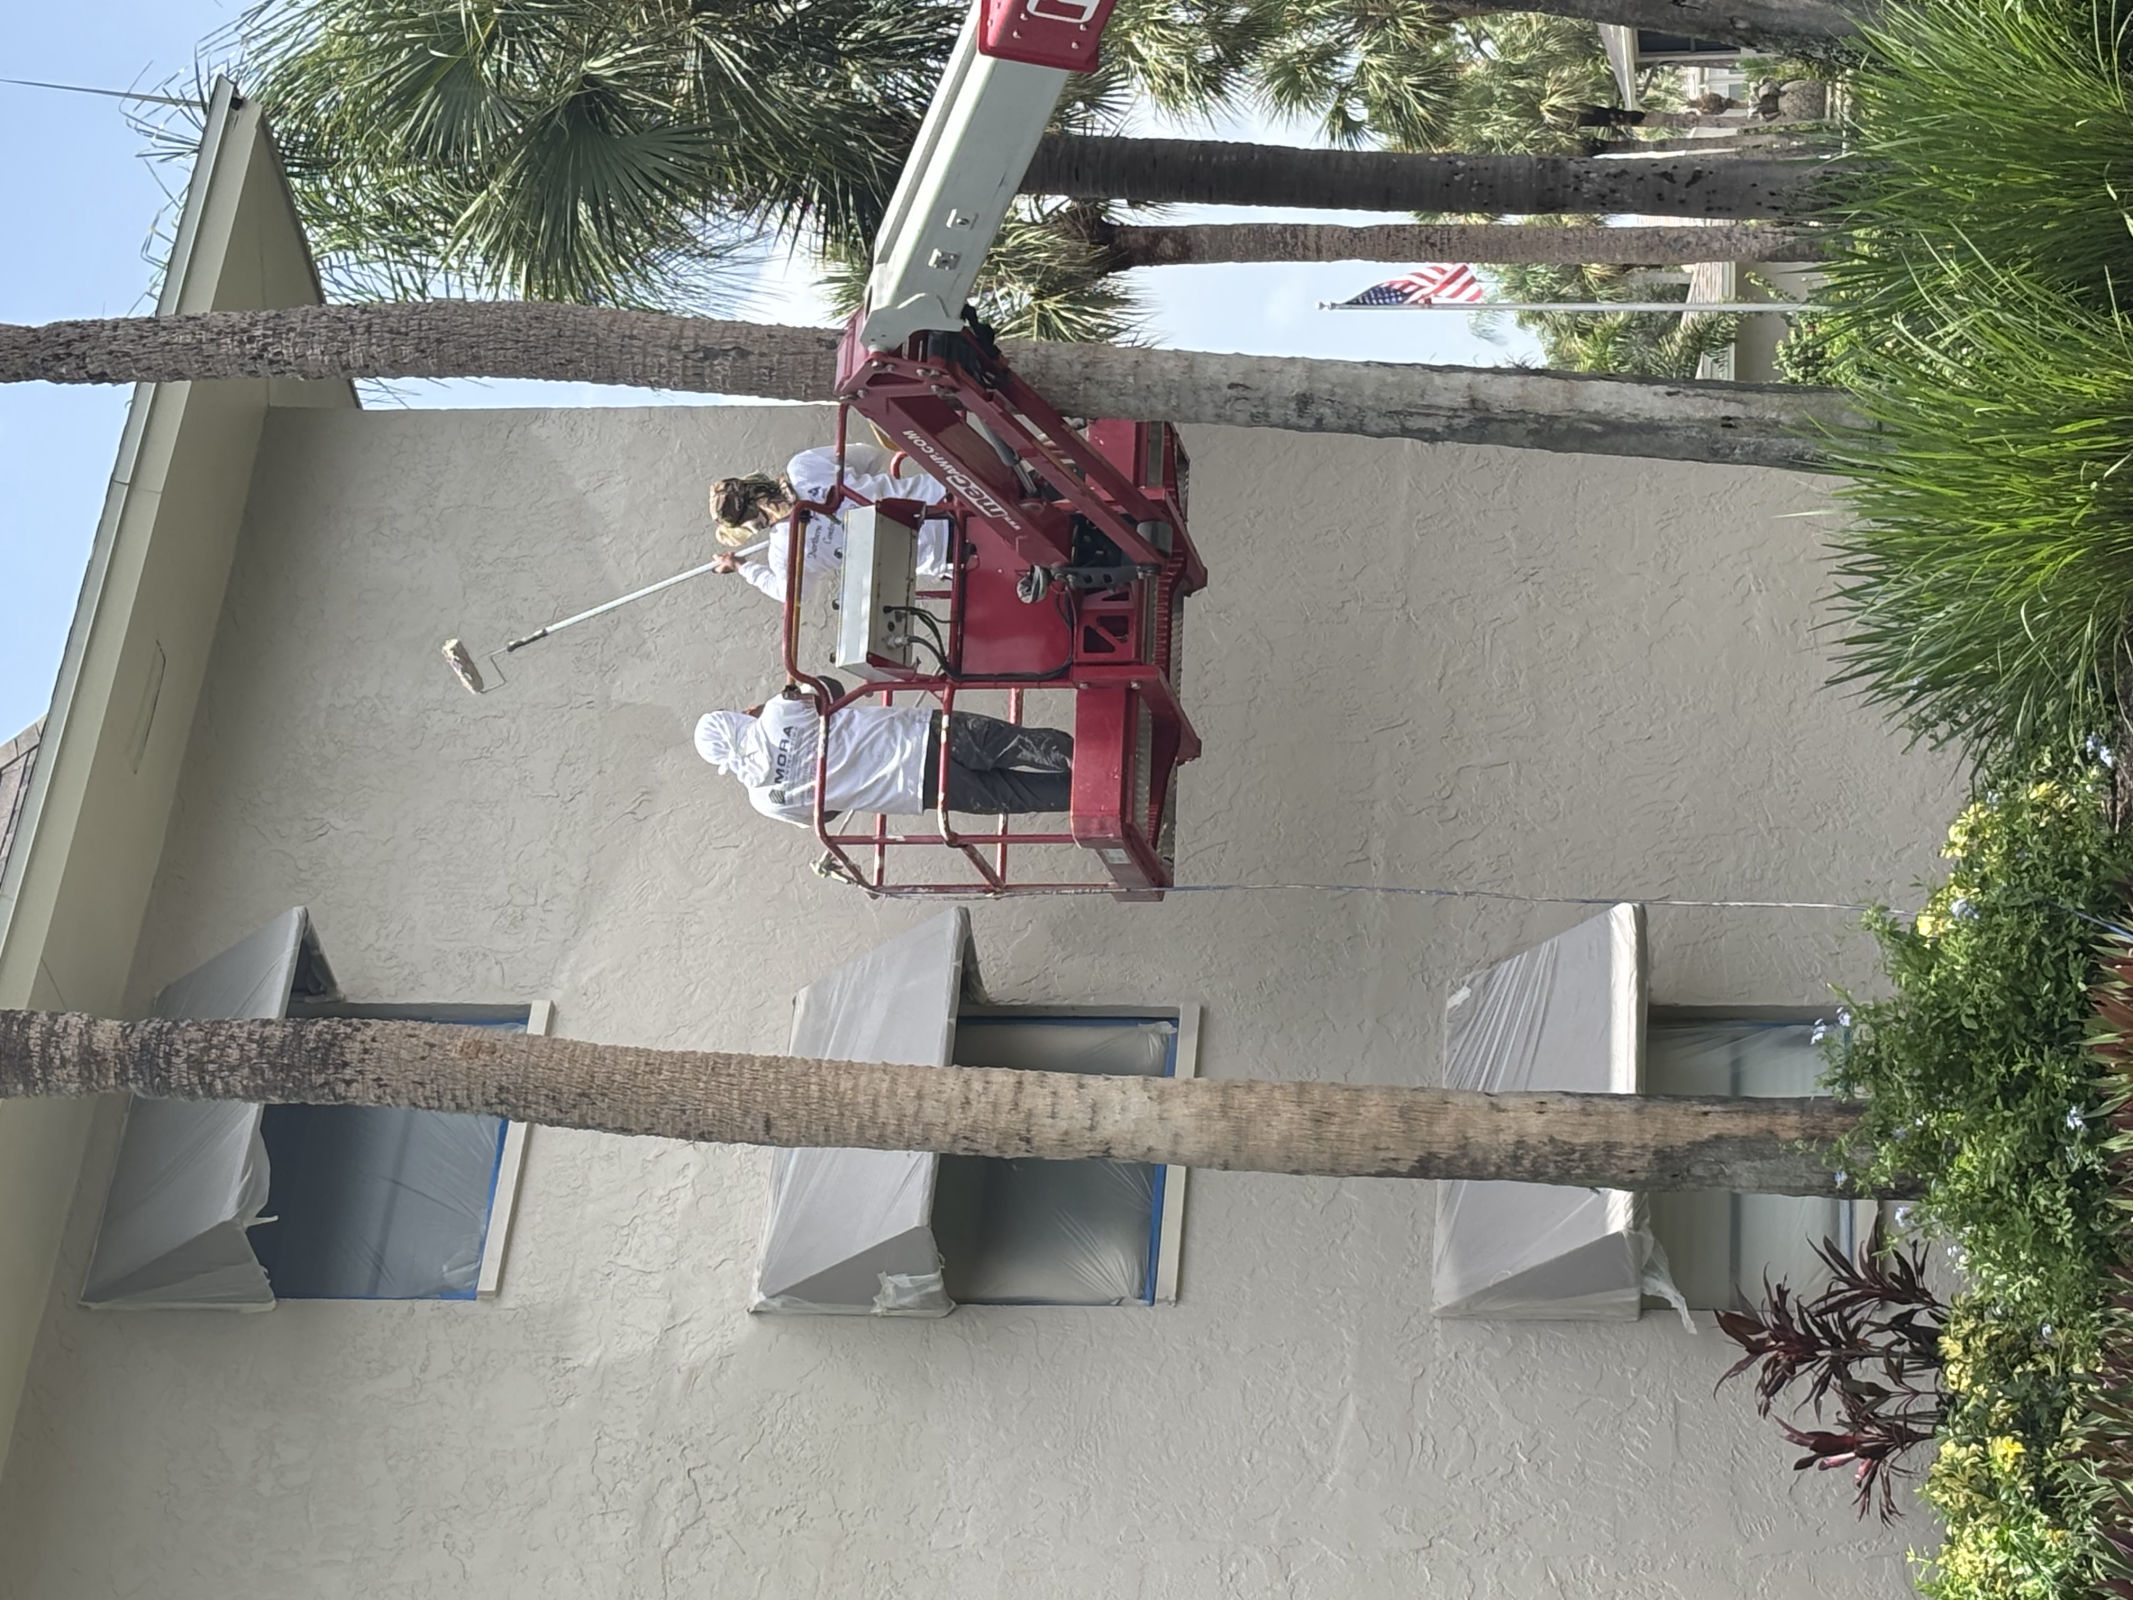
The paint is the last 20% of a paint job. Here's the whole sequence as it actually happens on a Southwest Florida home or building — so you know what you're paying for, what to expect each day, and which steps a cut-rate bid quietly skips.
Step 1 — The walkthrough and the scope
Before anything is priced, the building gets walked: stucco condition, previous coating failures, sealant joints, sprinkler staining, mildew zones, access challenges. On condominiums we sound suspect concrete too — that's how surprises get priced before the contract instead of after. Everything goes in a written scope with the products named.
Step 2 — Protection and setup
Landscaping, roofs, lanais, light fixtures, and your neighbor's car all exist. Day one is drop cloths, plastic, masking, and staging — plus clear communication about which doors and walkways are in play that day.
Step 3 — Pressure wash
Florida exteriors carry mildew, chalk, and salt film that paint will not stick to. A proper wash — with mildewcide where needed — strips all three and then gets a day to dry. Paint applied over chalk peels in sheets; this step is non-negotiable.
Step 4 — Repair
Stucco cracks get routed and filled with elastomeric patch, not smeared over. Bare or patched areas get spot-primed. Rotten trim, rusted metal, and any spalling concrete get addressed now — this is where our general contractor license earns its keep, because "paint prep" on a Florida building often turns into light restoration.
Step 5 — Sealants
Failed caulk around windows, doors, expansion joints, and penetrations gets cut out and replaced with urethane sealant. This is the single most skipped step in low bids, and it's the one that actually keeps water out of your walls. If a bid doesn't mention sealants, ask why.
Step 6 — Prime where needed
Full priming isn't always required on sound, previously painted stucco — but bare patches, repairs, chalky areas, and stains always get primer. The proposal says which, so you're not paying for primer the wall doesn't need or missing primer it does.
Step 7 — Two finish coats
Body first, then trim, doors, banding and accents — two coats of premium exterior acrylic (or high-build elastomeric where specified), applied at the manufacturer's spread rate. Two thin coats outlast one heavy one every time, which is why "one-coat coverage" promises age so badly in this climate.
Step 8 — The walkthrough that ends the job
Touch-up list walked with you, masking pulled, site cleaned, leftover labeled paint handed over for future touch-ups, and the written warranty delivered. The job isn't done when the painting is done — it's done when you've signed off on it.
Want this sequence on your building? Request a free estimate or call (239) 772-1302.