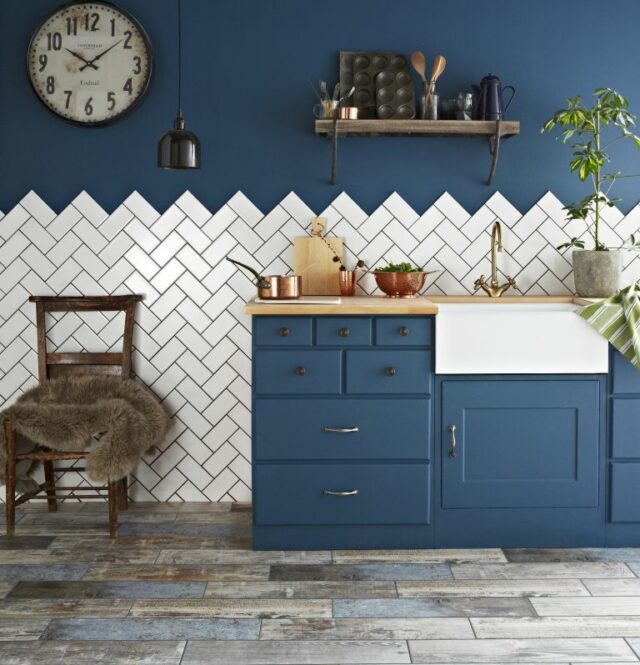
Social media has made DIY projects like kitchen makeovers more accessible and more exciting than ever before! Replacing kitchen cabinets can be a pricey adventure, but giving them a facelift with a fresh coat of paint can extend the life of your current kitchen cabinets without breaking the budget. Here’s what you need to know about selecting the best paint and prepping your cabinets to achieve great results.

Choosing the Right Paint
First, you’ll want to consider different finishes for your kitchen cabinet paint. Matte and eggshell finishes may look nice, but in high-traffic areas, you’ll want something more durable and easier to clean. Glossy finishes are best, but if you don’t like the shiny appearance, a satin finish will still be sturdy without the sheen.
You’ll also want to choose a high-quality interior paint. High moisture levels, greasy meals, and constant opening and closing mean cheaper products won’t last long. We recommend either Sherwin-Williams Emerald Trim Enamel in satin, gloss, or semi-gloss, or Behr Specialty Alkyd Semi-Gloss Enamel. Both products will give you a professional finish that’s ready to stand up to heavy use and lots of scrubbing.
Choosing the right color is the fun part, but be sure to consider the long-term use of your kitchen and the possibility of selling your home in the near future. Bright purple cabinets might seem like the ultimate customization, but you might find yourself regretting this decision quickly! Whites and off-whites work well in most kitchens, and shades of black and grey can complement modern decor schemes or farmhouse-style kitchens.
Prep Makes Perfect
If you’ve completed any DIY painting projects, you probably already know that most of the important work happens before you ever open a can of paint. First, empty your cabinets and remove all hardware including hinges and pulls. Scrub all surfaces thoroughly, and use a good degreasing agent to ensure all surfaces are squeaky clean.
Next, tape off all areas that won’t be painted such as adjoining walls and any hardware that cannot be removed. Cover countertops and appliances to protect them from drips and spills. Use a wood filler to repair any gouges, holes, and other imperfections. Then, sand all surfaces. A palm sander will help get large, flat areas done quickly, and tricky spots should be done by hand. Choose a 220-grit sandpaper for stained surfaces and a 120-grit for paint, and wipe down all surfaces to remove all traces of dust before moving on.
Lastly, a good primer should always be used before painting cabinets. Be sure to sand surfaces lightly between coats of primer and after the final coat has applied and remove all dust before applying your first coat of paint. Choosing the right primer is essential in high-traffic areas like kitchens. We recommend a product like Sherwin-Williams Extreme Bond Primer that offers a higher degree of adhesion than a standard primer.
The Right Techniques
As a DIYer, you could consider using a high-quality, professional brush in the 2 to 2-1/2 inch range–this is not a tool to cut costs with! Remember to paint entire surfaces together as brushing up against a wet edge will give a good finish, but dry or semi-dry edges can cause lifting, bumps, and unsightly brush marks. Take your time, and don’t forget to paint cabinet edges! If you choose to hire a team of professionals, or have access to professional gear, the best tools to choose for this process would be an airless sprayer, or even a HPLV sprayer. These would help provide a really smooth finish.
Leave it to the Professionals!
If the process of achieving excellent results sounds like more than you want to tackle yourself, give us a call! The painting pros at Mora Painting have the skills and experience to make your kitchen cabinets look like new again. All you have to do is choose a color, and we’ll take care of the rest.
